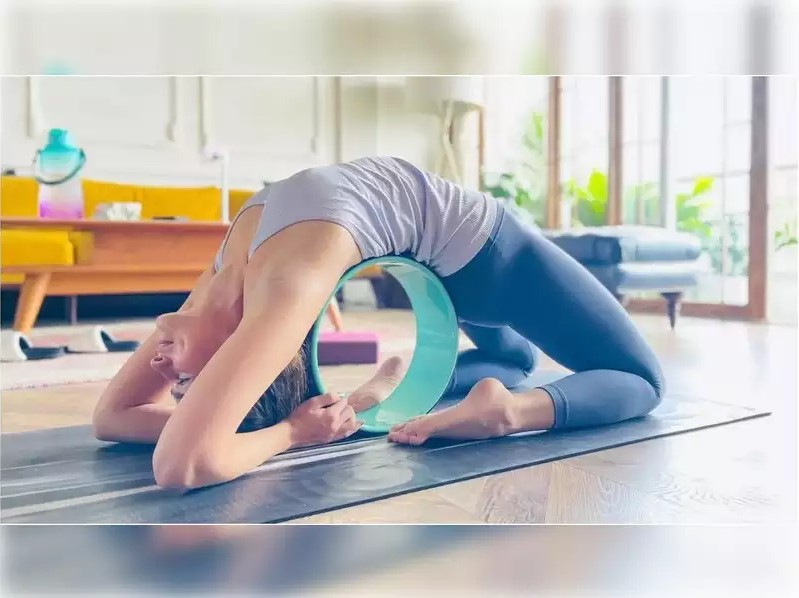
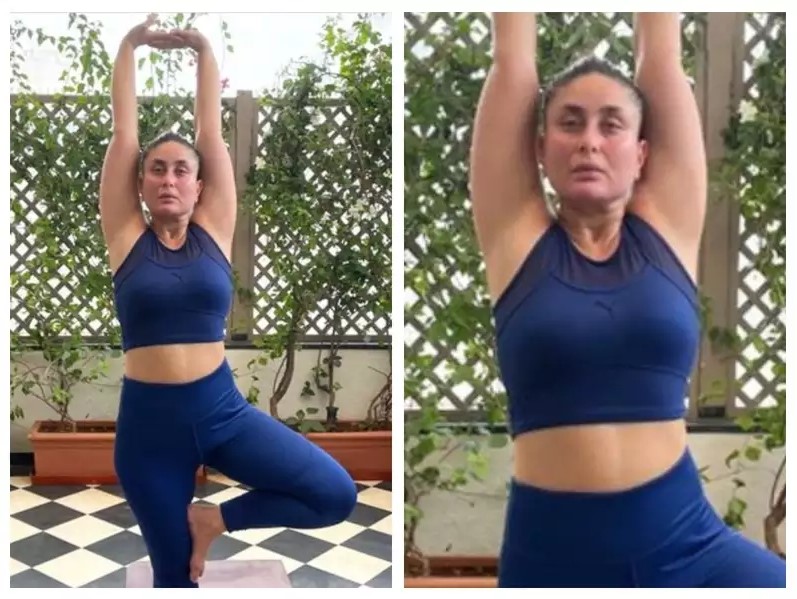
Numerous yoga postures offer the potential to enhance strength, bolster mobility, and enhance hip flexibility, and in this article, we’ll unveil the ten most impactful ones. Have you ever experienced the frustration of feeling like your hips just won’t cooperate during yoga classes online?
Maybe you’ve been informed that you have “tight hips,” or you frequently grapple with discomfort in your hips and lower back. The topic of hip flexibility is a hot topic in the yoga community, with some even suggesting that the hips store emotions from an energetic perspective. This might explain why postures like the pigeon pose can evoke powerful emotions or tears in some practitioners.

However, if you’ve ever felt that your hips are too unyielding for yoga, it’s time to cast aside that belief because yoga is tailored just for you. Within the realm of yoga, there exists a multitude of poses that can aid in enhancing hip strength, mobility, and flexibility, and you can explore these through yoga classes online. If you’ve been on a quest to discover the ideal yoga postures for alleviating tight hips, you’ve come to the right place.
But are your hips truly as “tight” as you think?
One prevalent misconception concerning hip restrictions is that they solely stem from muscular limitations when in reality, much of the constraint lies within the bones themselves. Our anatomical structures are wonderfully diverse; for instance, the female sacrum tends to be shorter and wider compared to the male sacrum, and female pelvic bones generally exhibit more substantial dimensions and breadth than those of males.
These differences stem from the evolutionary adaptation of female bodies to facilitate childbirth, aligning the hips for greater ease in opening. Both men and women may also have distinct angles and shapes in their hip bones and joints, which can result in some individuals effortlessly performing poses like Yogi Squat or Malasana while posing a significant challenge for others. In the visual representations shared by Paul and Suzee Grilley, one can clearly observe the variations in hip bone shapes, highlighting that no amount of stretching can fundamentally alter these inherent differences.
Why Hip Strength and Flexibility Matter
Understanding that your tight hips may be influenced by your bone structure underscores the importance of tuning into your body during yoga practice. There’s no universal fit for yoga poses, so avoid pushing yourself into unrealistic contortions, and consider exploring these concepts in yoga classes online.
Another compelling reason not to excessively stretch your hip muscles is the critical need for a harmonious blend of strength and flexibility in the hips. The hips play a pivotal role in supporting our back and legs, essentially serving as the body’s core. When hip muscles feel “tight,” they often signify weakness, particularly if prolonged periods are spent in a seated position, neglecting hip muscle engagement. Issues like sciatica, sacroiliac joint pain, muscle strains, lower back pain, knee discomfort, and ankle problems often trace back to the combination of tightness and weakness in hip muscles. Weak muscles tend to hold excessive tension and trigger compensation throughout the body. In contrast, a foundation of hip strength and balance can frequently alleviate these issues.
This underscores the significance of cultivating both strength and flexibility in the hips, a principle we’ve integrated into our selection of the ten best yoga poses for tight hips, which you can explore further in online yoga classes. Give them a try:
Initiate Hip Strength with Hip Strength Sequence
At times, our love for hip-opening postures overshadows the necessity of stabilizing and fortifying the hip region. If your daily routine entails prolonged periods of sitting or standing, this class is indispensable. By reestablishing a connection with your external hip muscles, you’ll regain lower back strength. This robust session incorporates side arm planks but excludes standing poses, focusing on grounding and staying close to the mat.
The Top 10 Yoga Poses for Alleviating Tight Hips
1. Samasthiti / Equal Standing Balance
While it may not appear as a hip-centric posture, Samasthiti or Equal Standing Balance is a critical awareness exercise. By assessing whether you subconsciously favor one side of your body, you can identify potential weaknesses or tightness. Many of us unknowingly overuse one side of our bodies, leading to unexplained discomfort and compensation.
To practice:
-
- Stand with your feet at a hip-width distance.
- Experiment with foot placement, testing what feels most comfortable for you: parallel, slightly turned out, or slightly turned in. Opt for a position that suits your body.
- Direct your attention to your feet, discerning which one carries more weight. Do you sense an imbalance between the two sides of your body?
- Gently shift your weight from one foot to the other, noticing your comfort level on each side.
- Strive to evenly distribute your weight between both feet.
2. Utkatasana / Chair Pose
The Sanskrit name for this posture roughly translates to the “fiery posture,” and it certainly ignites a sense of warmth within the hips. Chair pose is an integral part of Suryanamaskar B, which you can explore further in Anna Sugarman’s class available here. This pose actively contributes to strengthening the glutes, thighs, and the areas around the knees and ankles, and engages the core muscles. As your strength progresses, you can modify the posture by descending deeper into the “chair.”
To practice:
- Begin with your feet together in the traditional pose, or adjust your foot spacing to suit your comfort.
- Extend your arms upward, aligned with your ears.
- Bend your knees and envision yourself settling into an imaginary chair.
- Maintain the posture for five breaths before returning to a standing position.
3. Virabhadrasana 2 / Warrior 2
This powerful pose builds strength, mobility, and flexibility in the hips, and there are lots of variations to play with too. Try different ways of moving through Warrior 2 in Powerful Warrior Flow with Marlene Henny here.
To practice:
- Step your feet wide apart on your yoga mat
- Turn your right foot forward, so your toes are pointing to the front of the mat
- Bend your right knee so that it moves over your right ankle. Be sure not to push your knee too far forward over your toes.
- Take a look at your front knee; for many people, weak hip muscles mean the knee collapses inwards, which can cause strain on the ligaments of the knee.
- To avoid this, gently push your knee outwards towards the little toe side of your foot, which will also engage the glute muscles.
- Keep your back leg straight and engaged, pressing firmly through the foot Stretch your arms out to shoulder height and look over your front middle finger
4. Goddess Pose / Horse Stance
This dynamic posture is a potent tool for nurturing strength, mobility, and flexibility in the hips, offering numerous variations to explore. You can experiment with different ways of transitioning into Warrior 2 by participating in the Powerful Warrior Flow class guided by Marlene Henny, accessible here.
Practice Steps:
- Begin by positioning your feet at a comfortable distance apart on your yoga mat.
- Pivot your right foot forward, aligning your toes with the front edge of the mat.
- Gradually bend your right knee, ensuring it hovers over your right ankle without extending too far forward over your toes.
- Pay close attention to your front knee; weak hip muscles often cause it to cave inward, potentially straining the knee ligaments. To counteract this, gently push your knee outward, directing it toward the side of your little toe, which also activates the glute muscles.
- Maintain a straight and engaged posture with your rear leg, exerting pressure through your foot.
- Extend your arms outwards to shoulder height and direct your gaze over your middle finger on the front hand.
5. Anjaneyasana / Low Lunge (Hip Flexor Stretch Variation)
This asana not only cultivates strength but also promotes flexibility in the hips and legs. As you progress in your practice and bolster your flexibility and strength, you can explore advanced variations of the pose. While the focus is primarily on the lower body, you can also experiment with diverse arm variations like eagle arms, cow face arms, or elevating your arms above your head to intensify the challenge.
Practice Instructions:
- Begin by positioning your feet a comfortable distance apart.
- Bend your knees and descend into a squat, lowering yourself as much as is comfortable while encouraging your knees to press outward.
- Similar to Warrior 2, it’s crucial to counteract the tendency of knees to collapse inwards, which may be attributed to leg and hip weakness or tightness. Ensure that you actively push your knees outward.
- Maintain the pose for a count of five breaths before returning to a standing posture.
- Delve into the Goddess Pose Flow class led by Marlene Henny for a comprehensive experience, accessible here.
6. Parighasana / Gate Pose
This uncomplicated posture is a powerful hip stretch, primarily targeting the hip flexors, which can become tense after extended periods of sitting or driving. If you’re grappling with lower back discomfort, attempting this stretch to alleviate your hip flexors can often offer relief. Although the instructions might initially seem unusual, they have proven efficacy.
Practice Guidelines:
- Start by kneeling on the ground, and then take a step forward with one foot.
- Ensure that your front knee is aligned directly over your front ankle.
- Place your hands on your front knee.
- Gently tuck your chin toward your chest and roll your tailbone underneath.
- At this stage, you might sense a stretch in your hip flexor or thigh muscles.
- If the stretch isn’t readily apparent, gently nudge your hips forward.
- Maintain this position for a count of five breaths before repeating the sequence on the opposite side.
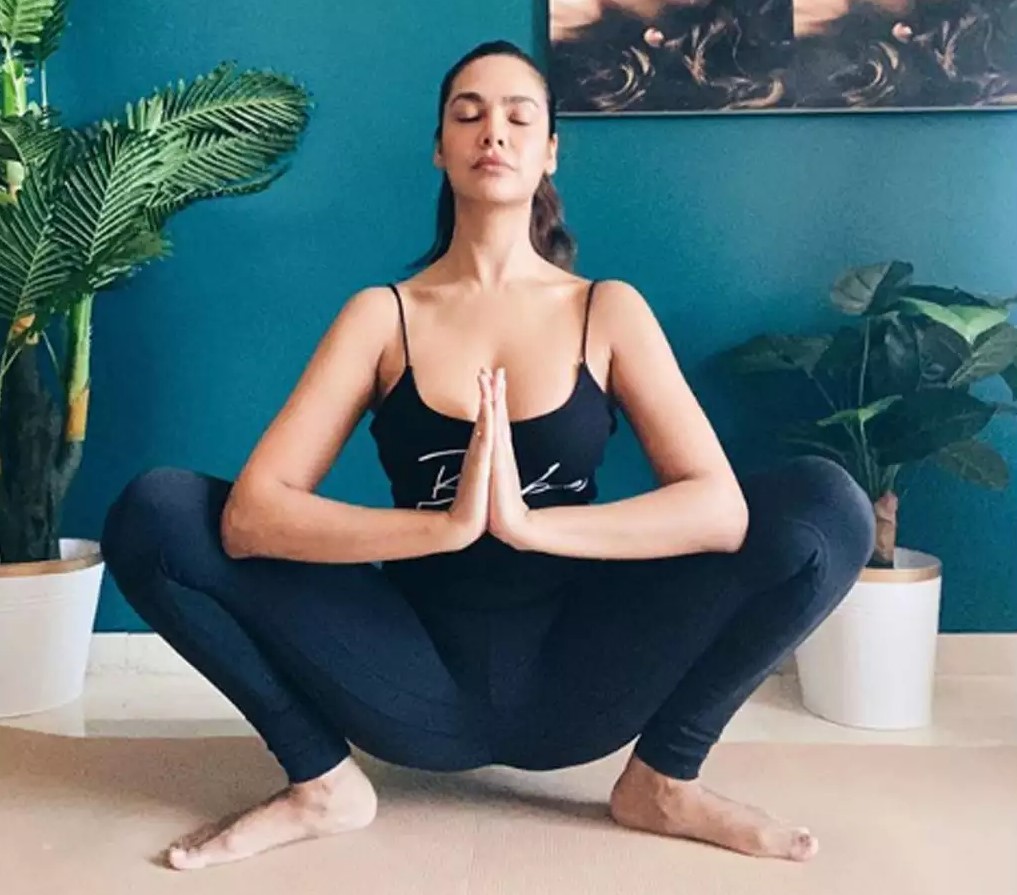
7. Malasana / Yogi Squat
This pose is highly effective for relieving tension in the inner thighs and the sides of your body, making it an excellent choice to transition into after a low lunge. By practicing this pose, you can effectively target a variety of hip muscles for a comprehensive stretch.
Step-by-Step Practice Instructions:
- Begin by assuming a kneeling position on the ground.
- Extend one foot out to the side, stretching the leg fully straight.
- Slide one hand down the outer edge of your extended leg, initiating a gentle side stretch.
- Simultaneously, raise your other arm alongside your ear.
- Maintain this position for a duration of five breaths before repeating the sequence on the opposite side.
8. Baddha Konasana / Bound Angle Pose
For individuals with “tight hips,” this posture might initially appear daunting, particularly when surrounded by fellow practitioners who seem to effortlessly assume the pose. The ease or challenge of sinking into this posture is significantly influenced by the shape of your hip bones and joints. Therefore, it’s advisable to proceed with caution, embracing modifications and props as necessary. It’s worth noting that in many cultures, this pose is an integral part of daily activities, such as socializing, cooking, or using the toilet, and even children frequently engage and rest in this pose.
Practice Guidelines:
- Begin by placing your feet a bit wider than hip-width apart.
- Gradually bend your knees and descend into a squat, lowering yourself to a point where you feel comfortable. If any discomfort or pain arises, pause and return to a position that is pain-free.
- To adapt the posture, flex your knees and position your forearms on your thighs, reducing the depth of your squat. Alternatively, you can place two yoga blocks beneath your heels to enhance accessibility.
- If possible, join your palms together, holding this position for five breaths before gradually transitioning back to a standing stance.
- You can explore various squat variations in Mark Freeth’s Squats class, accessible here.
9. Eye of The Needle
Eye of The Needle is an excellent pose for extending the lower back, hip, and thigh muscles. It’s an adaptable pose that can be tailored to accommodate your individual needs. If your lower back is feeling tense, you can elevate your seat by sitting on a blanket or block. There’s no need to force your hips to “open”; instead, focus on relaxing the muscles.
Step-by-Step Practice Instructions:
- Sit comfortably on the ground, utilizing a blanket or block if required for added support.
- Bring the soles of your feet together, allowing your knees to drop out to either side.
- Gently lean forward until you experience a gentle stretch.
- Maintain this stretch for five breaths before returning to your seated position.
10. Ananda Balasana / Happy Baby Pose
Ananda Balasana, commonly known as Happy Baby Pose, is a stretch many people employ to alleviate tension in the glutes and hips. However, to fully maximize its benefits, it’s important to grasp a few key subtleties. Here’s how to practice it effectively:
Step-by-Step Practice Instructions:
- Begin by lying on the ground with your knees bent and your feet flat on the floor.
- Raise your right leg, crossing your ankle over the opposite knee.
- It’s crucial to flex your foot and gently guide your knee away from your body (without using your hands to touch it). This action ensures the proper engagement of the outer hip muscles, allowing you to experience a deeper stretch.
- Remain in this position if you feel a satisfying stretch. Alternatively, use your hands to delicately draw your left thigh towards you, intensifying the stretch around the glutes and IT band.
“Ready to transform your yoga practice and experience newfound hip freedom? Dive into our online yoga classes and embrace a world of strength, mobility, and flexibility, right at your fingertips. Unleash your inner yogi and let your hips lead the way to a healthier, happier you with our yoga classes online.”
