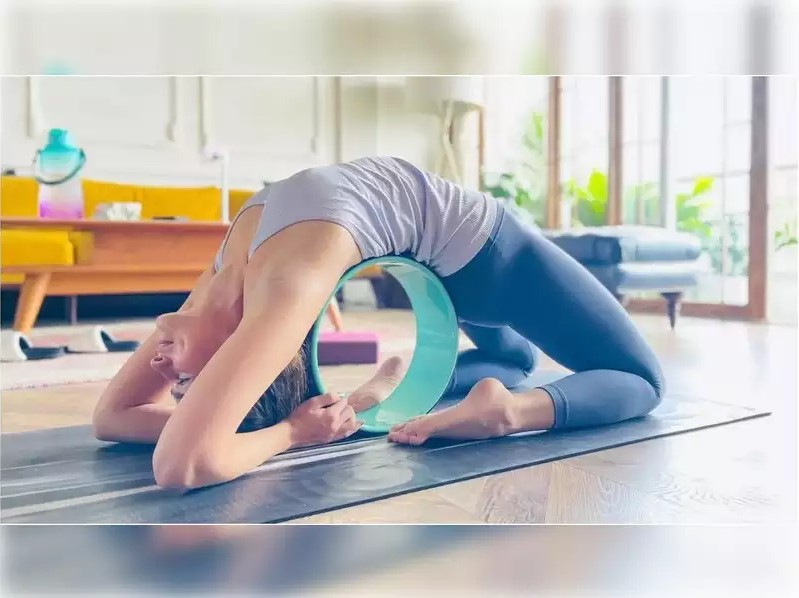
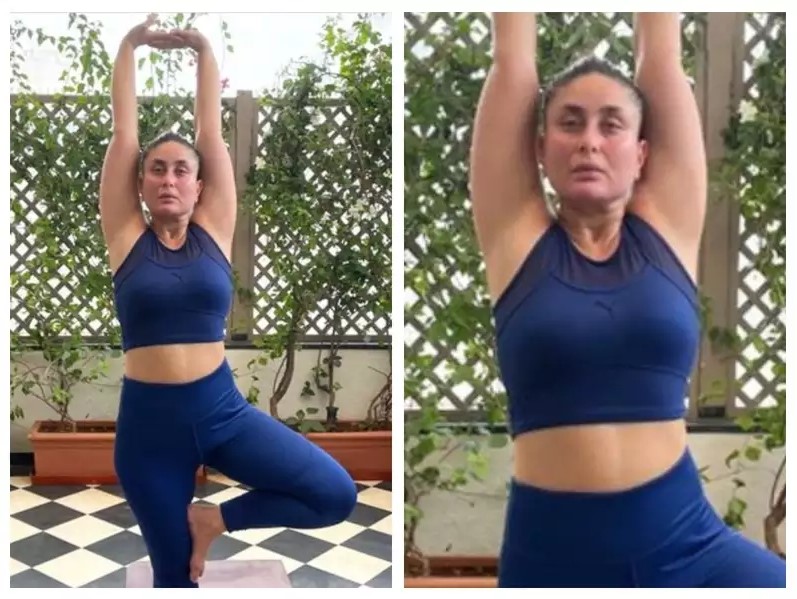
“It’s time to unroll your yoga mat and explore the world of Yoga for Everyone, a blend of physical and mental workouts that have captivated yoga enthusiasts worldwide for centuries. What’s wonderful about yoga is that you don’t need to be a yoga expert to enjoy its advantages. Regardless of your age, fitness level, or body shape, yoga can soothe your mind and enhance your physical strength. Don’t be daunted by yoga jargon, upscale yoga studios, or complex poses. Yoga is accessible to everyone.
Essential Yoga Poses to Incorporate into Your Practice
Yoga’s foundation lies in its poses, and mastering these is vital as you develop a consistent yoga routine.
These 10 poses form a comprehensive yoga workout. Transition through each pose at a steady pace, always mindful of your breath. If you encounter any challenging poses, take a pause, particularly if you’re short of breath, and resume once your breathing stabilizes. The key is to hold each pose for a few slow breaths before progressing to the next one.
1. Child’s Pose
This soothing position serves as a natural resting point. Child’s pose allows you to take a break, regain your focus, and prepare for your next yoga pose. It gently elongates your lower back, hips, thighs, knees, and ankles while promoting relaxation in your spine, shoulders, and neck.
Try it: When you desire a gentle stretch for your neck, spine, and hips. Skip it: If you have knee injuries or ankle issues. Also, avoid it if you have high blood pressure or are pregnant. Modify: You can support your head with a cushion or yoga block. Placing a rolled towel under your ankles can alleviate discomfort. Be mindful: Concentrate on loosening the muscles in your spine and lower back as you breathe deeply.
Instructions:
- Begin by positioning yourself on all fours, with your hands aligned in front of your shoulders and your knees spread apart at hip-width, or wider if it feels more comfortable, and your big toes touching.
- On the exhalation, gently lower your buttocks toward your heels, allowing your torso to rest either on your thighs or in the space between them. Your head should be in contact with the floor, a yoga block, or a cushion.
- Let your arms relax alongside your thighs, with your palms facing upward.
- Release tension from the muscles around your spine and hips and take slow, deliberate breaths as you unwind.
2. Downward-Facing
Dog The downward-facing dog pose strengthens your arms, shoulders, and back muscles, while simultaneously stretching your hamstrings, calves, and the arches of your feet. It can also offer relief from back pain.
Try it: If you want to alleviate back discomfort.
Skip it: This pose is not advisable for individuals with carpal tunnel syndrome or wrist issues, high blood pressure, or those in the late stages of pregnancy.
Modify: You have the option to perform the pose with your elbows resting on the ground, reducing the strain on your wrists. Alternatively, using yoga blocks under your hands can provide added comfort.
Be mindful: Concentrate on evenly distributing your weight across your palms and lifting your hips upward and backward, away from your shoulders.
Instructions:
- Begin in a hands-and-knees position, with your hands spaced shoulder-width apart and your knees aligned under your hips, toes tucked.
- Inhale and evenly press into your palms, lifting your knees off the ground.
- Raise your hips upward and back, working to elongate your spine.
- Exhale as you gradually straighten your legs, reaching your heels toward the floor. If your legs are fully extended, engage your thigh muscles and press your feet firmly into the ground.
- Elevate your shoulders away from your ears and flatten your shoulder blades against your back. Rotate your upper arms downward toward the floor. Draw your outer hips inward toward the center.
- Maintain a consistent inhalation and exhalation rhythm as you hold the pose.
3. Plank Pose
Plank is a commonly practiced exercise that enhances core strength and works the shoulders, arms, and legs.
Try it: The plank pose is excellent for toning your abdominal muscles and building upper body strength.
Skip it: Avoid plank pose if you have carpal tunnel syndrome, as it can strain your wrists. You may also choose to skip it or modify if you experience low back pain.
Modify: You can modify the pose by placing your knees on the floor.
Be mindful: While in a plank, visualize lengthening the back of your neck and spine.
Instructions:
- Start in the Downward-Facing Dog pose.
- Inhale and shift your weight forward until your body forms a straight line, with your shoulders directly above your wrists and your heels positioned over the balls of your feet.
- As you exhale, press down through your forearms and hands while gazing at the floor in front of you. Visualize elongating the back of your neck and spine.
- Maintain a steady breath as you hold the pose for as long as comfortable, engaging your core by drawing your navel toward your spine. Keep your thighs elevated and your hips raised, avoiding excessive lifting of your rear.
4. Four-Limbed
Staff Poses This push-up variation is often practiced following the plank pose in the popular yoga sequence known as the sun salutation. It’s a valuable pose to master if you have aspirations of working on more advanced poses, such as arm balances or inversions.
Try it: Like plank, this pose builds strength in the arms, and wrists, and tones the abdomen.
Skip it: If you have carpal tunnel syndrome, lower back pain, a shoulder injury, or if you’re pregnant, it’s best to avoid this pose.
Modify: Beginners can modify this pose by keeping their knees on the floor.
Be mindful: As you hold this pose, evenly press your palms into the floor and lift your shoulders away from the ground.
Instructions:
- Begin from the plank pose. Inhale and shift forward, extending your chest forward until your shoulders are slightly in front of your wrists, and you are on the balls of your feet. Flatten your shoulder blades against your back, raising your thighs and the front of your torso away from the floor. Engage your abdominal muscles by drawing them up toward your spine.
- Exhale and bend your elbows directly backward, not out to the sides, as you lower your body in a straight line until it hovers a few inches above the floor. Ensure that your shoulders remain above your elbows. Beginners can lower their knees to the mat before descending.
- Maintain the pose for a few breaths.
5. Cobra Pose
This back-bending position is excellent for strengthening the back muscles, enhancing spinal flexibility, and stretching the chest, shoulders, and abdomen.
Try it: Ideal for strengthening the back.
Skip it: If you have spinal or neck arthritis, a low-back injury, or carpal tunnel syndrome, it’s best to avoid this pose.
Modify: Only lift a few inches and avoid attempting to fully straighten your arms.
Be mindful: Focus on lifting your navel away from the floor as you maintain this pose.
Modify: Only lift a few inches and avoid attempting to fully straighten your arms. Be mindful: Focus on lifting your navel away from the floor as you maintain this pose.
Instructions:
- Lie flat on your stomach with your forehead resting on your mat and your toes pressing firmly into the mat.
- Position your hands under your shoulders, keeping your elbows close to your sides. Engage your core by lifting your navel away from the mat.
- Inhale and press your feet and legs into the mat, allowing your tailbone to descend towards your pubis. Begin straightening your arms to lift your head and chest forward and upward off the floor. Exhale.
- Inhale again as you expand your chest and hold this position for another breath or two.
- Exhale and gently lower your head, neck, and chest onto the floor.
Incorporate the transformative power of Yoga Made Easy into your life, regardless of your experience or fitness level, and embark on a journey to a healthier, more balanced, and harmonious you. Start your yoga practice today and discover the profound benefits it offers to everyone, from beginners to experienced yogis, making it truly Yoga for Everyone.
